Capture HTML elements to images using snapDOM.
In this article, we review how to capture HTML elements to images using snapDOM. We will look at:
-
What is snapDOM?
-
How to capture image using snapDOM?
Press enter or click to view image in full size

What is snapDOM?
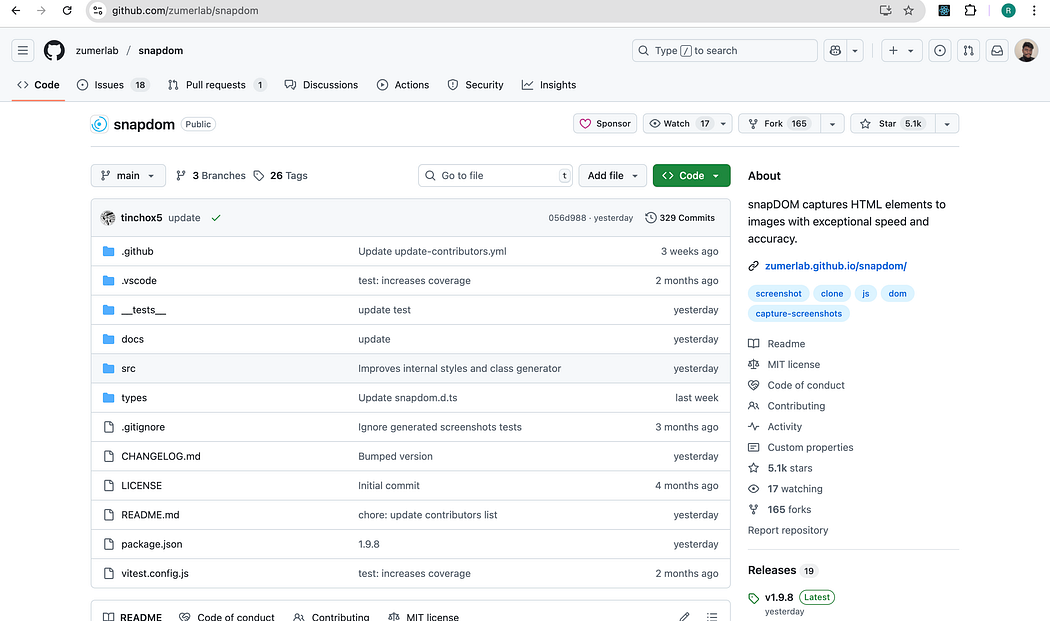
snapDOM is a fast and accurate DOM-to-image capture tool built for Zumly, a zoom-based view transition framework.
It captures any HTML element as a scalable SVG image, preserving styles, fonts, background images, pseudo-elements, and even shadow DOM. It also supports export to raster image formats and canvas.
-
📸 Full DOM capture
-
🎨 Embedded styles, pseudo-elements, and fonts
-
🖼️ Export to SVG, PNG, JPG, WebP,
canvas, or Blob -
⚡ Ultra fast, no dependencies
-
📦 100% based on standard Web APIs
Check out the live demo at https://zumerlab.github.io/snapdom/
How to capture image using snapDOM?
You would first want to install this package in your project
Installation
npm i @zumer/snapdom
Basic usage
Reusable capture
const el = document.querySelector('#target');
const result = await snapdom(el, { scale: 2 });

const img = await result.toPng();
document.body.appendChild(img);

await result.download({ format: 'jpg', filename: 'my-capture' });
One-step shortcuts
const el = document.querySelector('#target');
const png = await snapdom.toPng(el);
document.body.appendChild(png);

const blob = await snapdom.toBlob(el);
Learn more about snapDOM.
About me:
Hey, my name is Ramu Narasinga. I study codebase architecture in large open-source projects.
Email: ramu.narasinga@gmail.com
Want to learn from open-source? Solve challenges inspired by open-source projects.